Getting Started
You can work with this project either locally or through a Dev Container via GitHub Codespaces. The sections that follow will walk through how to do either. Before you do so, be sure to fork the repository so you have access to it under your GitHub profile.
Running in a Container
The following section requires Visual Studio Code to be installed and configured with the following extensions:
- GitHub Codespaces
- Remote Explorer
Open a new Visual Studio Code window without opening a folder or repository. This can be done from a terminal with
code -n, or if you have Visual Studio Code pinned to the taskbar, you can right-click the icon and select New Window.Open the Remote Explorer sidebar, select GitHub Codespaces from the drop-down, and click Sign in to GitHub:

Once signed in, click the Create Codespace button and use the following settings:

- Repository:
distributed-design - Branch:
main - Instance Type: At least 4 cores
- Repository:
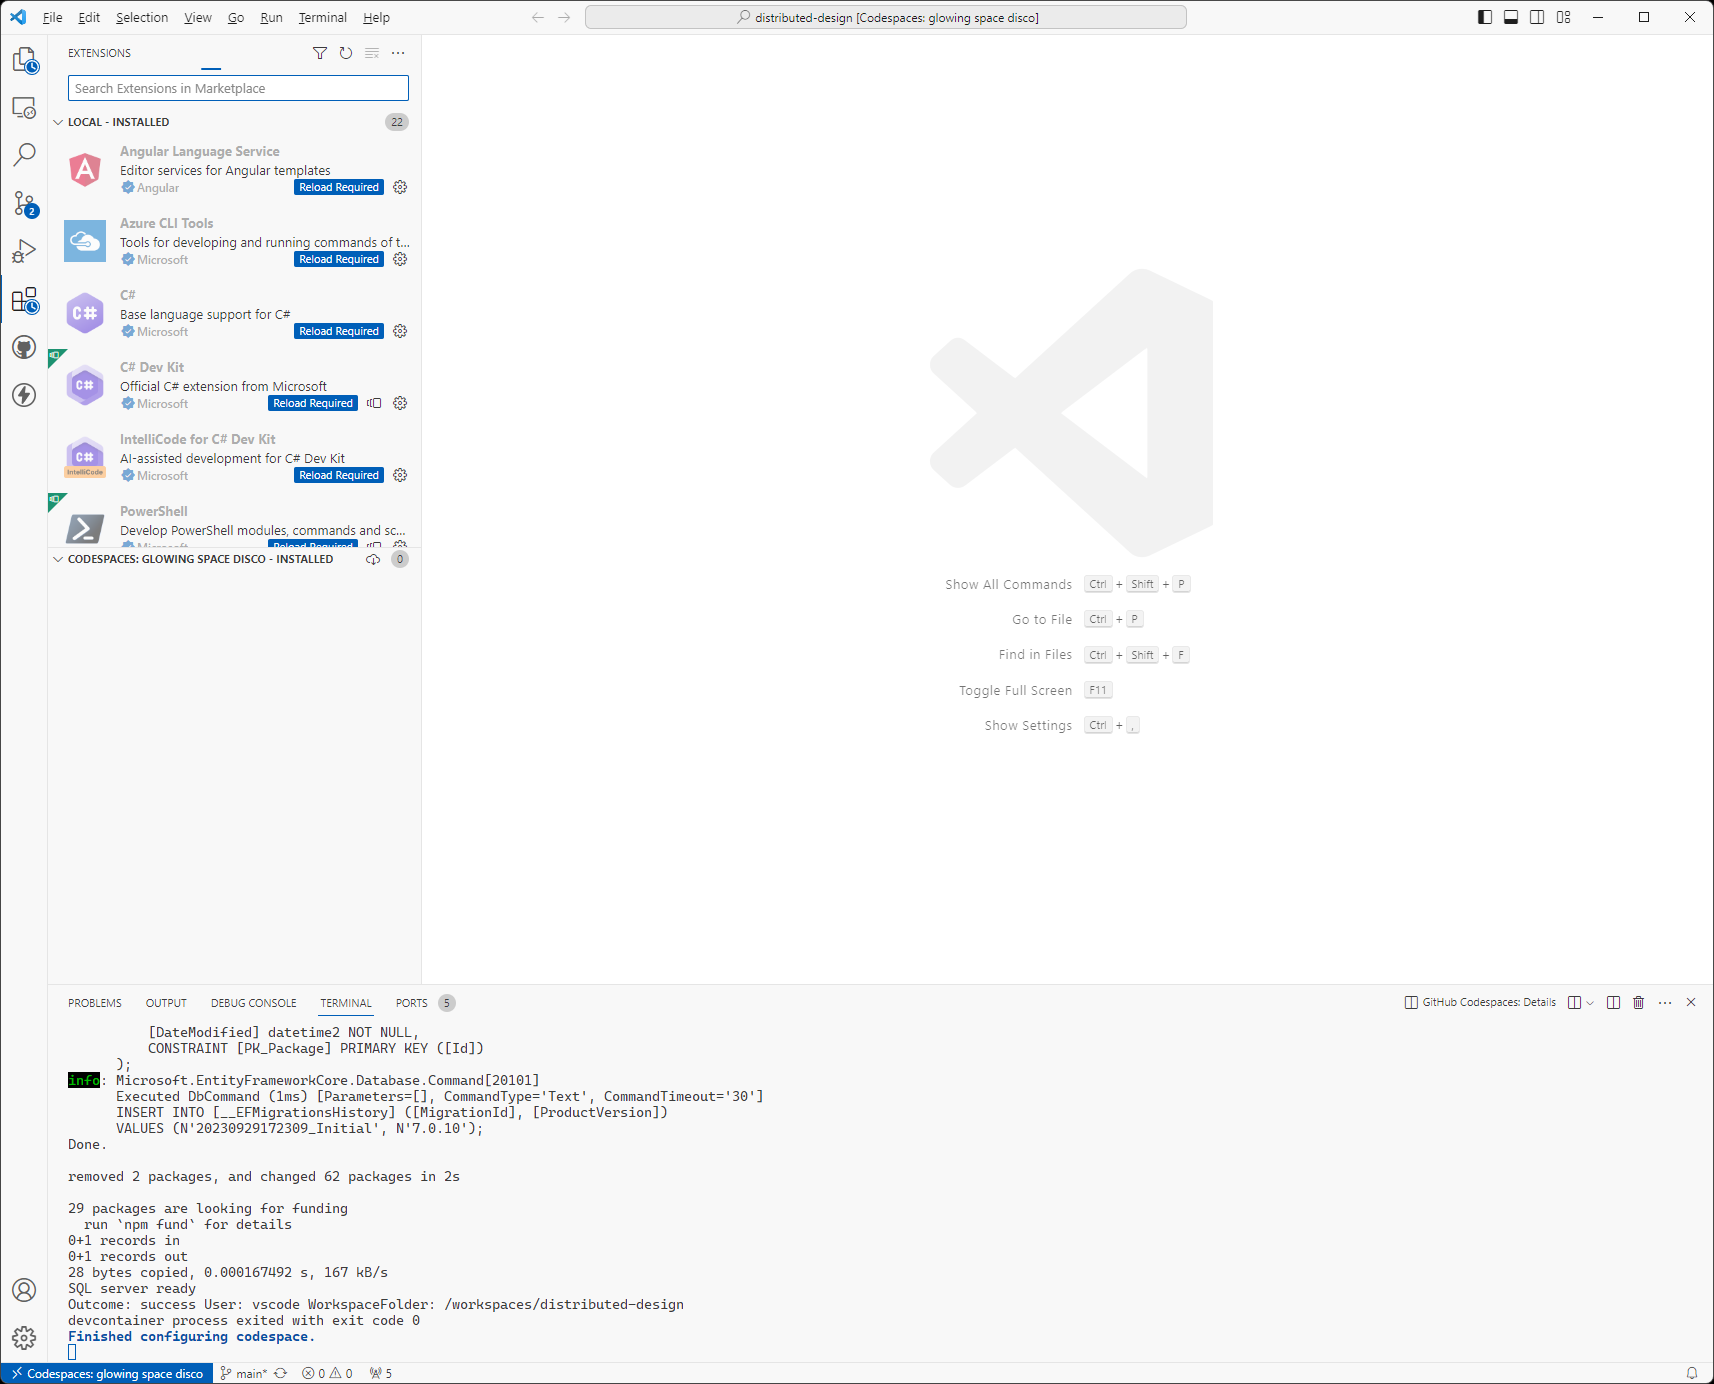
After the codespace is finished configuring, click the Extensions sidebar and reload the extensions:
Open the SQL Server Connections sidebar and verify that the node databases have been initialized:

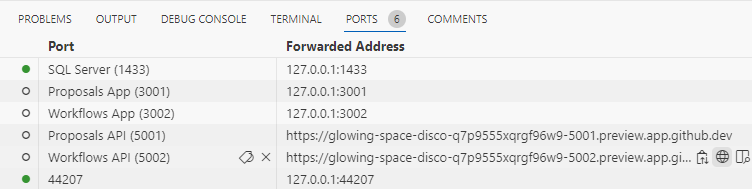
Open the bottom panel with
Ctrl + `if it's not already open. Click the Ports tab. Right-click the Proposals API (5001) and Workflows API (5002) ports and set Port Visibility to Public:
Go to the Task Explorer sidebar and run the clean-and-build task:

Open 4 terminals (
Ctrl + Shift + `opens a new terminal) and run the following in each terminal:Terminal 1
cd ./nodes/workflows/Workflows.Api
dotnet run
Terminal 2
cd ./nodes/proposals/Proposals.Api
dotnet run
Terminal 3
cd ./apps/proposals
npm run start:code
Terminal 4
cd ./apps/workflows
npm run start:code
Access the nodes and apps with the following:
You can open the URLs below through the bottom panel Ports tab by clicking the Open in Browser globe icon that shows up when you hover over the port in the Forwarded Address column:
| Process | URL |
|---|---|
| Propsals Node | https://CODESPACE_NAME-5001.app.github.dev/swagger |
| Workflows Node | https://CODESPACE_NAME-5002.app.github.dev/swagger |
| Proposals App | https://CODESPACE_NAME-3001.app.github.dev |
| Workflows App | https://CODESPACE_NAME-3002.app.github.dev |
Running Locally
To run this repository locally, you will need:
- SQL Server 2022 configured as
.\DevSql - .NET 7 SDK
dotnet eftool- Node.js LTS
- Visual Studio Code with the following extensions:
- C# Dev Kit
- Task Explorer
Open the repository in Visual Studio Code.
Go to the Task Explorer sidebar and run the clean-and-build task:
Assuming you have a local
.\DevSqlinstance of SQL Server, apply Entity Framework migrations for both theproposalsandworkflowsnodes:dotnet ef database update -p ./nodes/proposals/Proposals.Datadotnet ef database update -p ./nodes/workflows/Workflows.DataFrom 4 different terminals (
Ctrl + Shift + `opens a new terminal), start the nodes and apps in the order demonstrated below:Terminal 1
cd ./nodes/workflows/Workflows.Api
dotnet run
Terminal 2
cd ./nodes/proposals/Proposals.Api
dotnet run
Terminal 3
cd ./apps/proposals
npm run start:dev
Terminal 4
cd ./apps/workflows
npm run start:dev
Access the nodes and apps with the following:
| Process | URL |
|---|---|
| Propsals Node | http://localhost:5001/swagger |
| Workflows Node | http://localhost:5002/swagger |
| Proposals App | http://localhost:3001 |
| Workflows App | http://localhost:3002 |